
Making a Conveyor Belt System for a Factory Game
Ah man, conveyor belts. Such a staple of the factory game genre. There are so many different kinds, from the unique, gold standard of Factorio’s simulation like belts, to the hassle-free auto connecting and splitting kind like what’s found in Shapez (and Shapez 2) and Alchemy Factory (amongst others). They all have their different pros and cons that either offer or take away challenge, and that provide different levels of detailed thinking required to meaningfully interact with them.
I like all of the titles I listed above (and more), but what style would I want for my factory game? I’m planning for the focus to be on building in limited spaces requiring attention to detail in order to succeed. In that vein, I want there to be more thought required in how belts are used in the factory. I want it to be an interesting, expressive form of interaction based on a simple set of rules. To me, that sounds a lot like Factorio’s conveyor belt system, so that’s where I started looking.
Creating the System
When I was first starting to think about implementing a conveyor belt system in my game, I didn’t think it would be that complicated. It’s just moving items at a constant speed along a string of belt entities after all. And if I had chosen a simpler form of interaction that some games use, it probably would have been a bit easier. But of course I don’t often like doing things the easy way. So then what’s so complicated about having a Factorio like belt system?
Moving Items
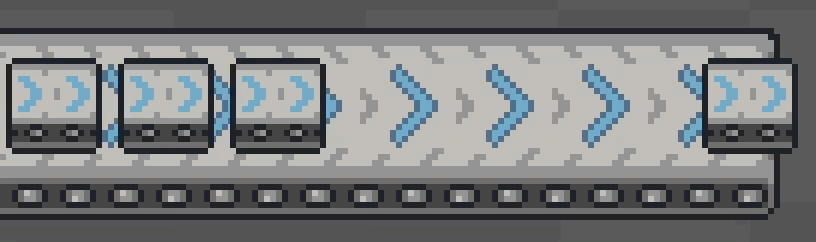
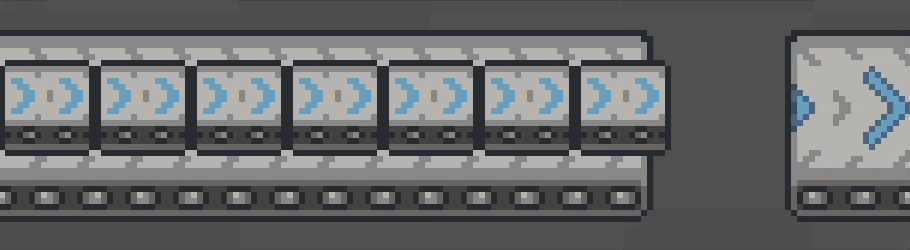
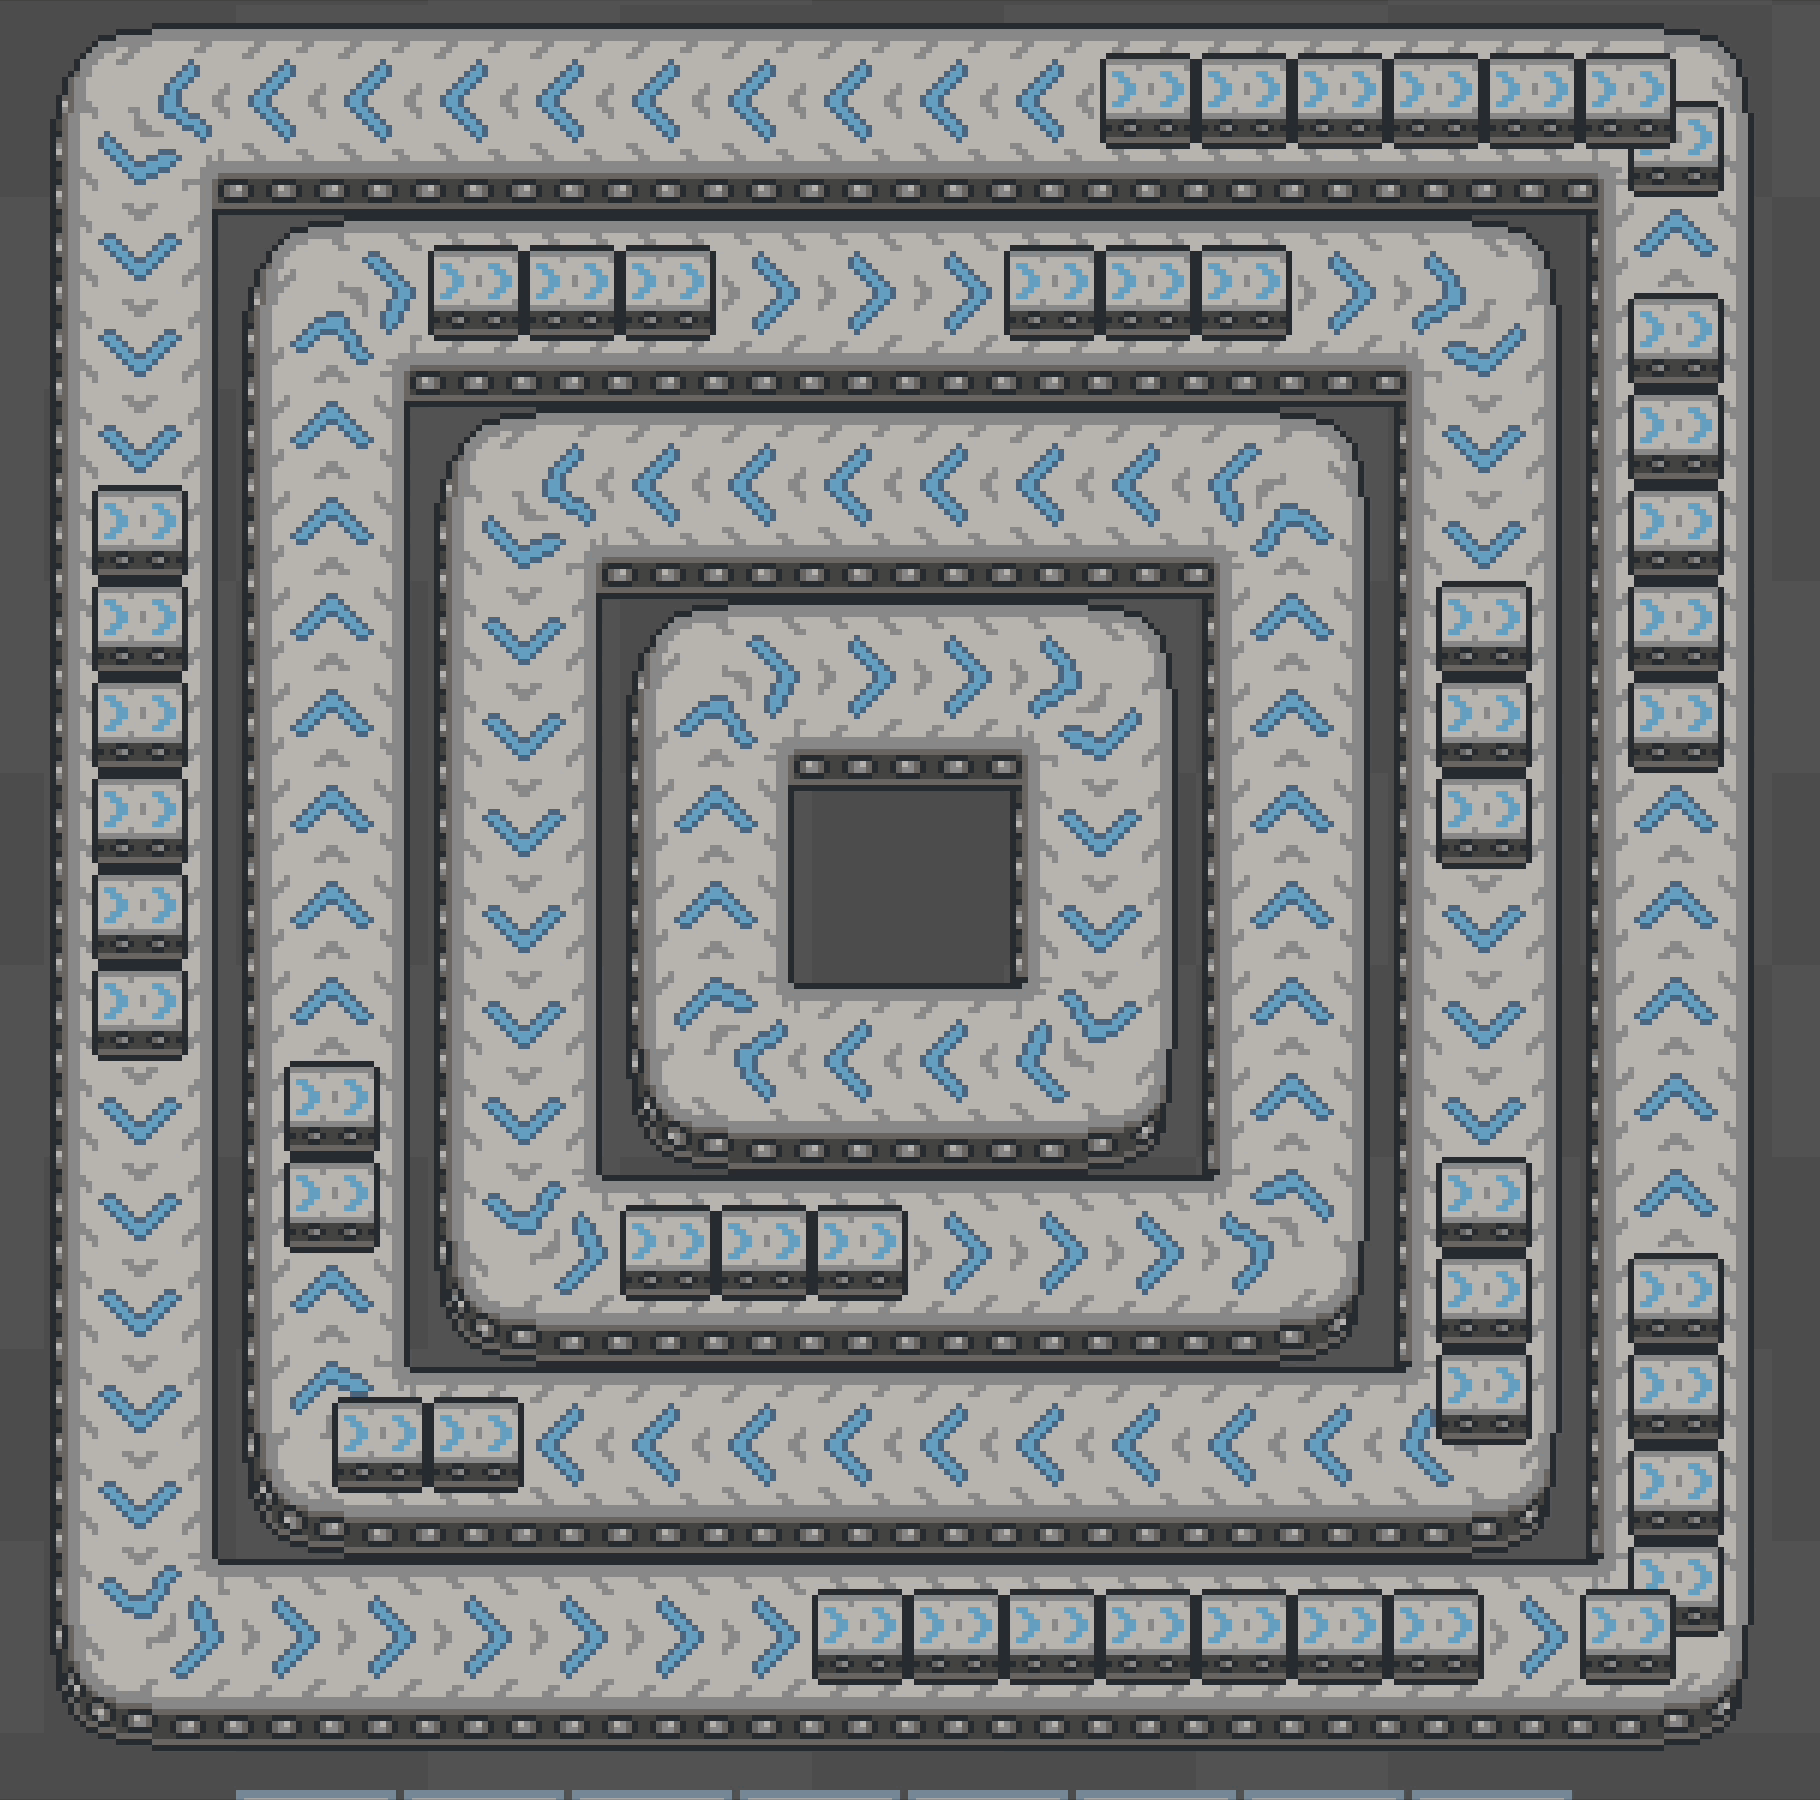
First let’s just take a look at the simplest case of a straight line of belts connected to each other with some items on it.
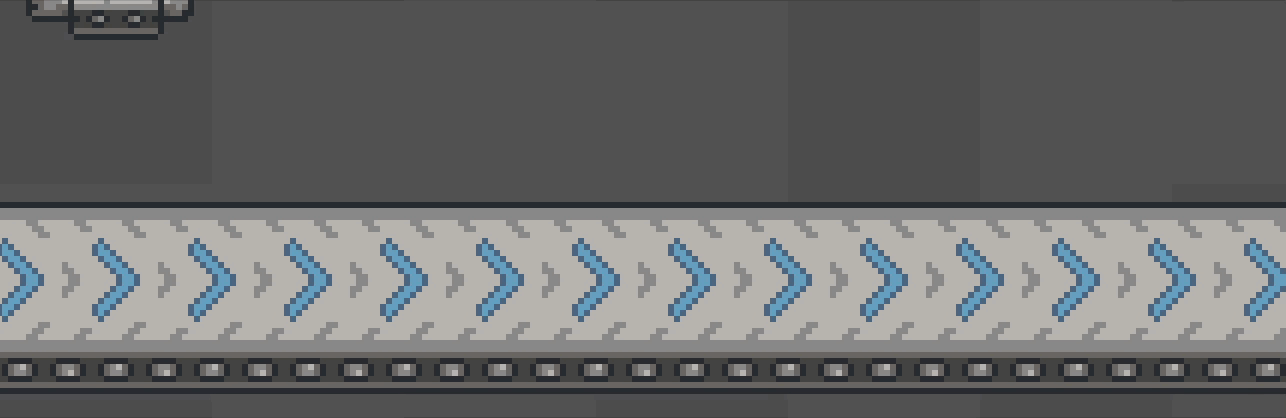
 Belts on belts, fully compacted
Every game tick (currently running at 60hz), we want to move every item forwards some amount while keeping a specified minimum gap allowed between the items so that they actually collide with each other when they reach the end of a belt rather than stacking up on top of each other.
 No collisions, many problems
This means that every game tick, we try to move each item forwards a maximum distance set by the belt speed, while not letting it get too close to the item that’s in front of it. If we do that willy nilly with no ordering for all of the items on all belts, some items would move while others wouldn’t since we won’t move an item forward if there’s no room in front of it. This causes some funky wiggling.
 Moving without ordering, in slow motion, wiggling on full display
So, the solution is “Easy”: just iterate through every item backwards on a chain of belts. But then that begs the question, what exactly is a chain of belts?
Belt Chains
In order to know what order we should be attempting to move items in, we need to know what constitutes a chain of belts. This is where things start getting a bit more complicated. Whenever a belt is placed in the world or removed from it, we need to keep track of and update what belts around it it’s directly connected to. That ordered list of directly connected belts is what we’ll call a belt chain. In code, it’s pretty simple:
struct BeltChain {
    belts: Vec<Entity>,
}
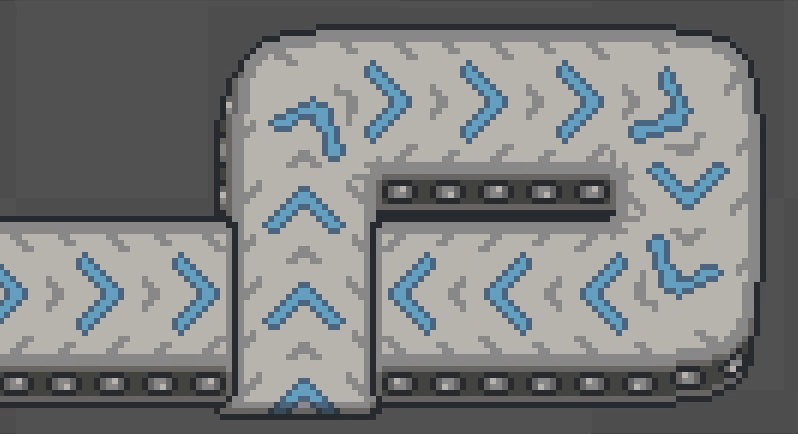
All of the above images show straight, directly connected belts forming a chain. But we want belts that can do more than just go in a straight line, so we need to start thinking about all of the different cases of belt interactions in the world. Once again, Factorio comes in to save the day with a sane idea of which belts should connect that we can follow.
This was by far the most complicated part of implementing belts, from having to merge chains together in some cases, to needing to break existing chains and merge them with other ones in different cases. As a side bonus, it made it easy to make visually contiguous belts since I already had all of the data about what belts were connected to what and where every chain started and ended. I’ll spare most of the details, but here’s a peek at some of my notes for defining the distinct cases for just adding a new belt.
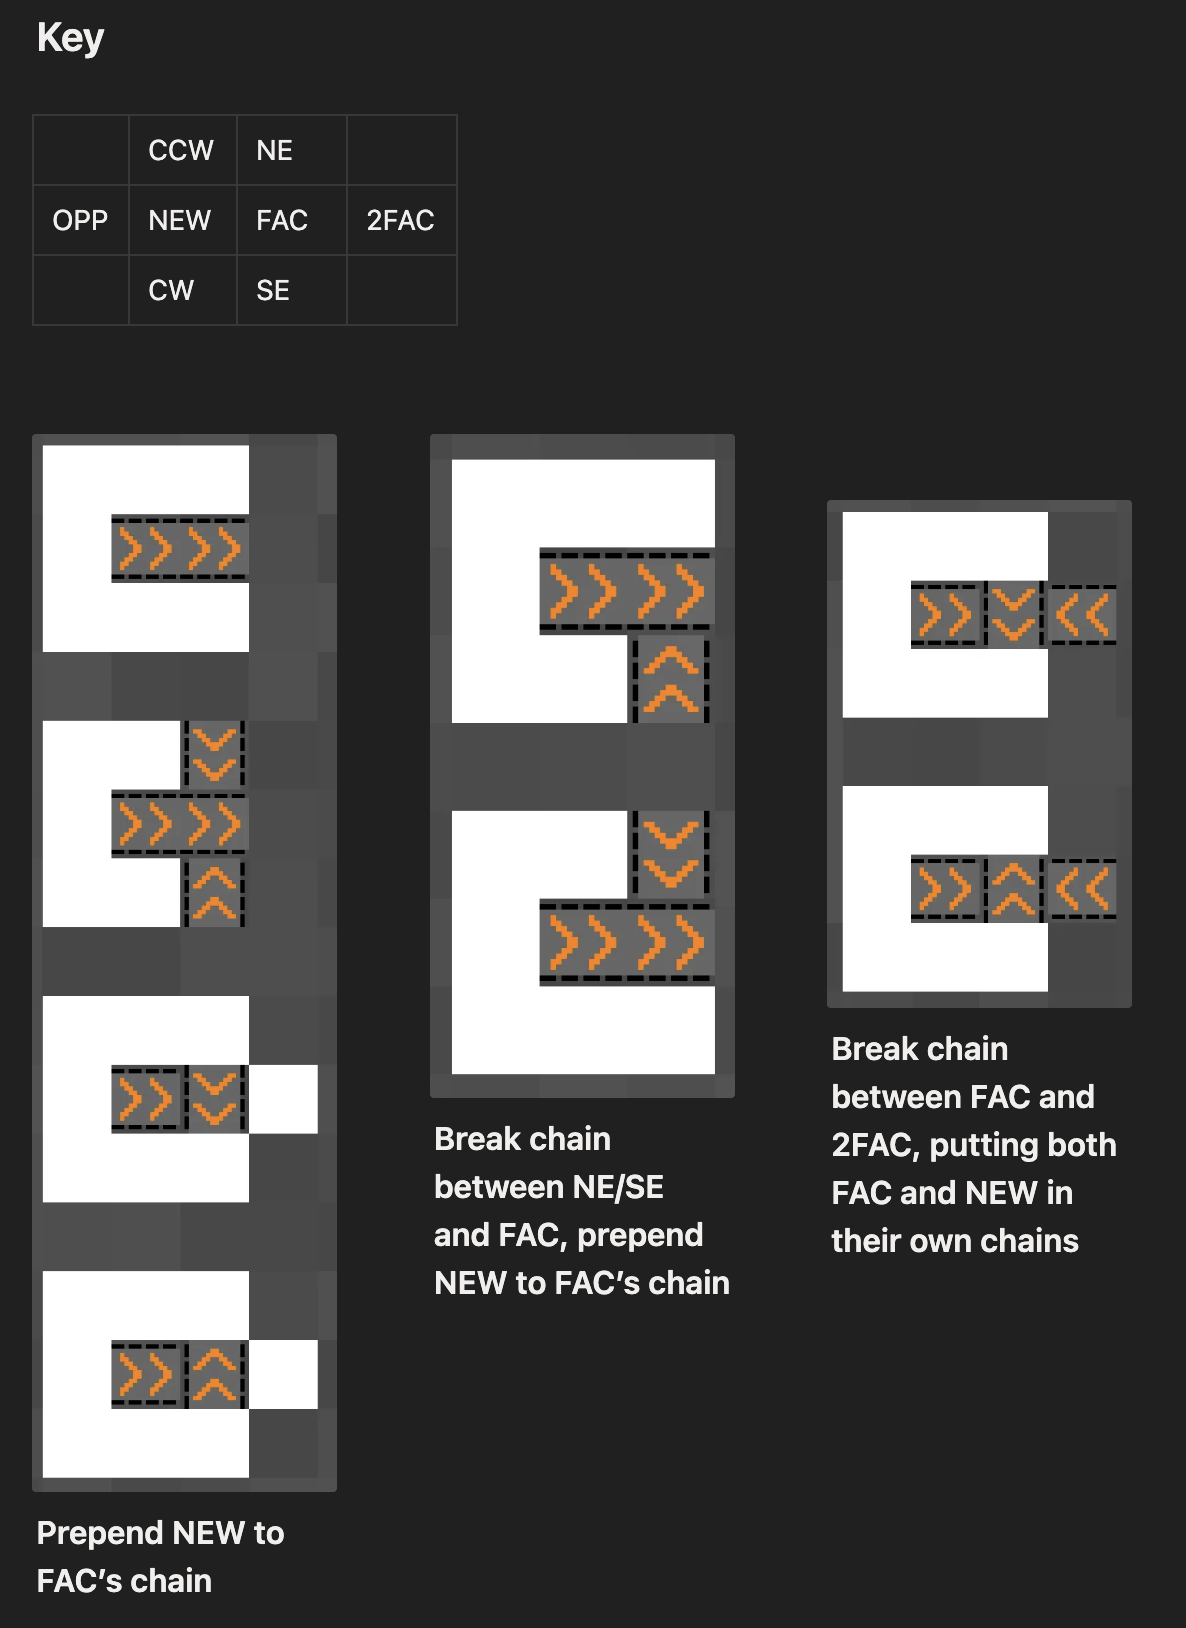 Just a sampling of the cases to worry about
All in all, there were 12 distinct cases to worry about for both adding and removing belts once I simplified things as far as my brain would allow.
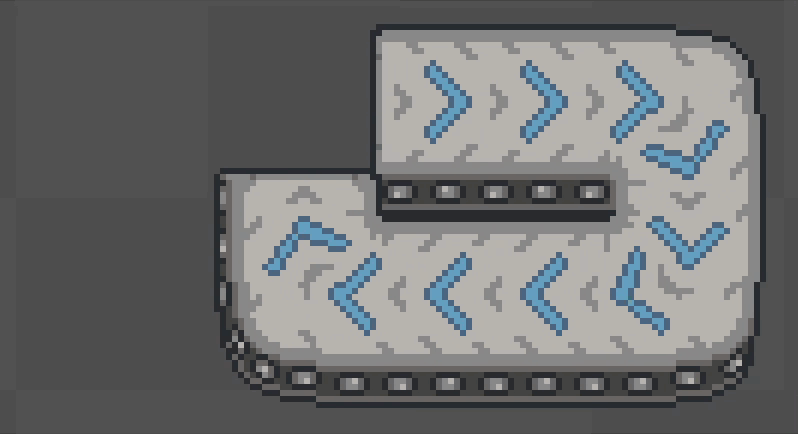
 Just chaining things around
So great! Now we have an understanding of chains built into the game, so we’re done, right? …right?
Loops
Oh yeah, so belts can loop back onto themselves. Should be simple right? Well, kind of. We can just update our belt chain data structure to keep track of whether it’s a loop or not:
struct BeltChain {
    belts: Vec<Entity>,
    is_loop: bool
}
That way, when we move items forwards on belts, we can just check to see if it’s a loop and move the items from the final belt back onto the first one rather than stopping them at the end of the chain. But of course that adds the complication of knowing whether we’ve created or broken a loop when adding or removing a belt, which we can in fact do both of when either adding or removing a belt. So a bit of fun (read: hard) logic later, and we have belt chains that can also be loops.
 Creating and destroying loops by adding belts, the joy
 Can’t forget it goes the other way too
I could honestly write a whole blog post just about belt chains and the intricacies of the logic (along with some fun debug visualizations that I made to help), but I’d rather cover the other fun bits about belts in this one before it gets too long.
So now we have a system that keeps track of belt chains so that we can move items smoothy along with proper ordering. Great! But uhh… how do we get items on there?
Inserting Items
This part actually isn’t that complicated once you have a well defined API and proper system ordering. The real fun bits here are once again the details of what makes a good conveyor belt system.
Which of the following two scenarios is more satisfying to watch?
 Scenario A
 Scenario B
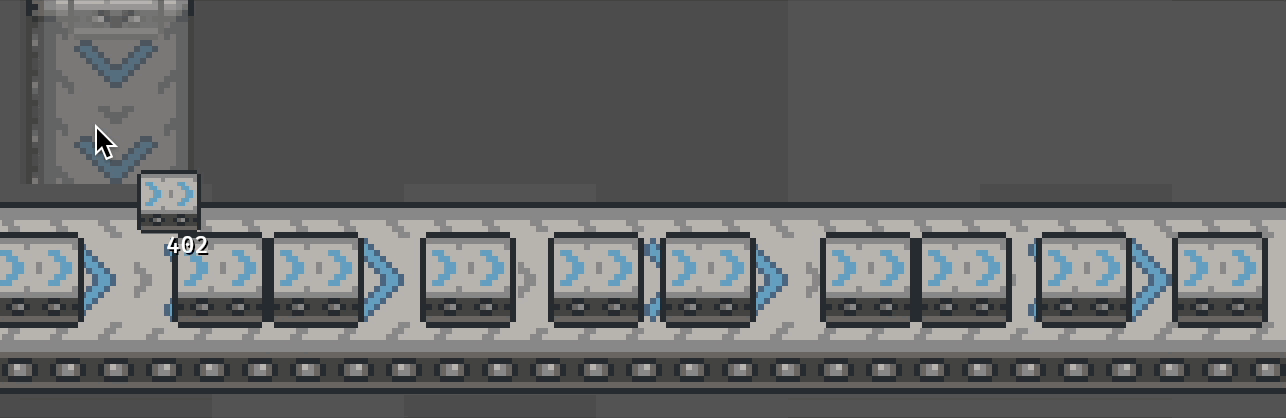
I don’t know about you, but I find Scenario B much more satisfying, and as it turns out, we have to do some special stuff with insertion to make sure that Scenario B happens as often as is possible. For the rest of this section, I’m going to call Scenario B a fully saturated belt.
Let’s start with the naive implementation: Requesting insertion at a specific point on a belt, and only allowing insertion if there’s room for a full item to fit there. Each of these causes a problem for not being able to fully saturate a belt.
Inserting at a Specific Point
The easiest way to demonstrate the problem with this is through what I like to call belt spillover. Belt spillover is when one belt chain leads into a different belt chain, “spilling” its items over onto the new chain. I’m using the belt insertion APIs for this case, requesting insertion at exactly halfway through the belt that’s being spilled over onto. It shows the problem quite nicely.
 Fully saturated belt → unsaturated belt (sad)
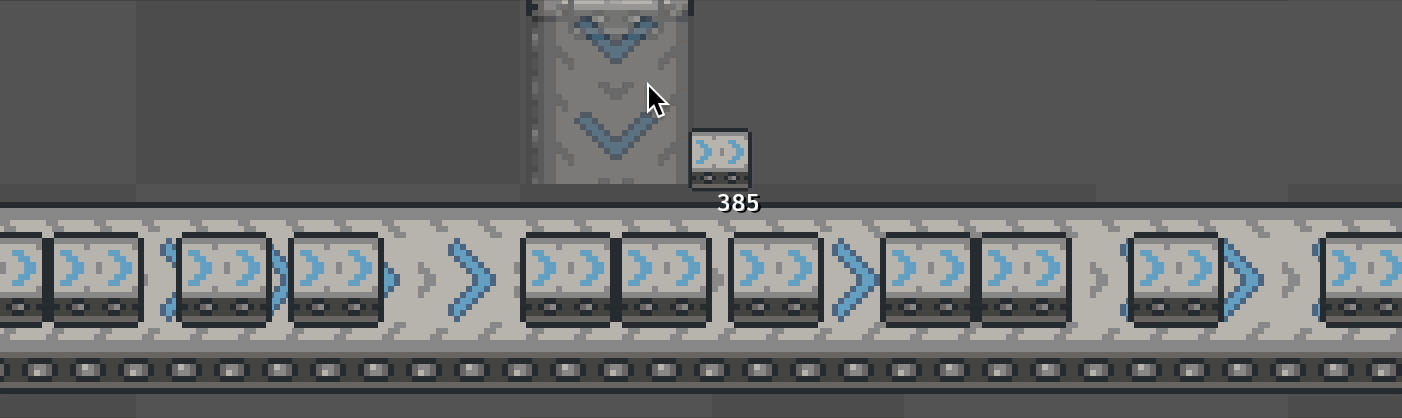
Since we’re only requesting to insert an item at exactly 50% through the belt, we won’t insert if there’s an item in front that’s even 0.1% of the way too close for the next item to fit. This leads to small gaps no matter how quickly you’re attempting to insert items onto a belt. This is pretty easily solved by just adding some wiggle room to insertion. This just means that whenever an insertion request is made for a specific spot on a belt, we allow a small amount of leeway with where exactly we insert. I’ve decided to use a wiggle room of +- 5% because it seems to work well enough.
 Lovely wiggle room saturation
Only Inserting if a Full Item can Fit
The next scenario we care about is a belt that has items on it but isn’t fully saturated. When we insert items onto that belt, we’d like to be able to fully saturate it. If we only allow insertion when there’s room for a full item, this is what we end up with.
 Not very satisfying
The solution here is to allow insertion to push items behind the insertion point backwards. This means that insertion can fill very small gaps in order to fully saturate a belt. This does have some extra considerations for loops in order to make sure that we don’t put more items on the belt than it can technically handle, but that’s not too hard. With this in place, we can finally saturate as much as we want.
 Much more satisfying
Endings
And that’s about it! There are definitely some details that I glossed over, some polish still to be done, and I didn’t talk at all about the visuals (or the ~700 lines of code just for sprite placement and animation), but I think I covered most of the interesting challenges associated with making a great, simulation like conveyor belt system for a factory game.
This blog is the first of hopefully many where I talk about the interesting challenges associated with developing this game. If you’re curious about anything, or want to be kept in the loop when I have more to share about this game, feel free to send me an email at minhaul.creations@gmail.com, or find me on Discord by my username @minhaul.
 Thanks for reading!