
The World, Items Within It, and Inserters
In the last blog post, I talked all about conveyor belts and their inner workings, but I completely glossed over the fact that there needed to be a world to place those conveyor belts into. And that’s what I’m going to be talking about today: the world, how items get placed in it and interact with each other, and some special considerations for my implementation of inserter machines. So buckle up, because it’s time to explore the world.
The World
Much like basically every other 2D factory game, machines placed into the world can only be done so on a grid. Having machine placement be on a grid makes it much easier to quickly query what’s where. This is mostly used right now for attempting to place a machine (to make sure that there’s space for placement, as well as any other special considerations that I’ll get into later), and for checking what machine the player is attempting to interact with.
I’ve chosen pixel art as the visual style for my game, with each grid tile being a 32x32 sprite. And so we’ll define that as a constant for the world (or other systems) to take into account.
/// Size of tiles in the grid
pub const GRID_PIXEL_SIZE: usize = 32;
We’ll use this constant quite a lot to align different coordinates to grid tile coordinates, such as when reading the mouse pointer’s position when the player is trying to interact with the world.
I haven’t mentioned it specifically yet, but I’m making this game using the open source Rust game engine, Bevy. As I continue to write more of these blog posts (including this one!) I’ll be talking a bit about how Bevy works and the ways that I’m using it in my game. I mention this now, because interaction with the world is making heavy use of bevy_picking, a built in Bevy module that makes it quite easy to handle interaction events, such as clicking, dragging, and hovering (the main three that I’m using for world interaction). Let’s start with a look at hovering.
Hovering
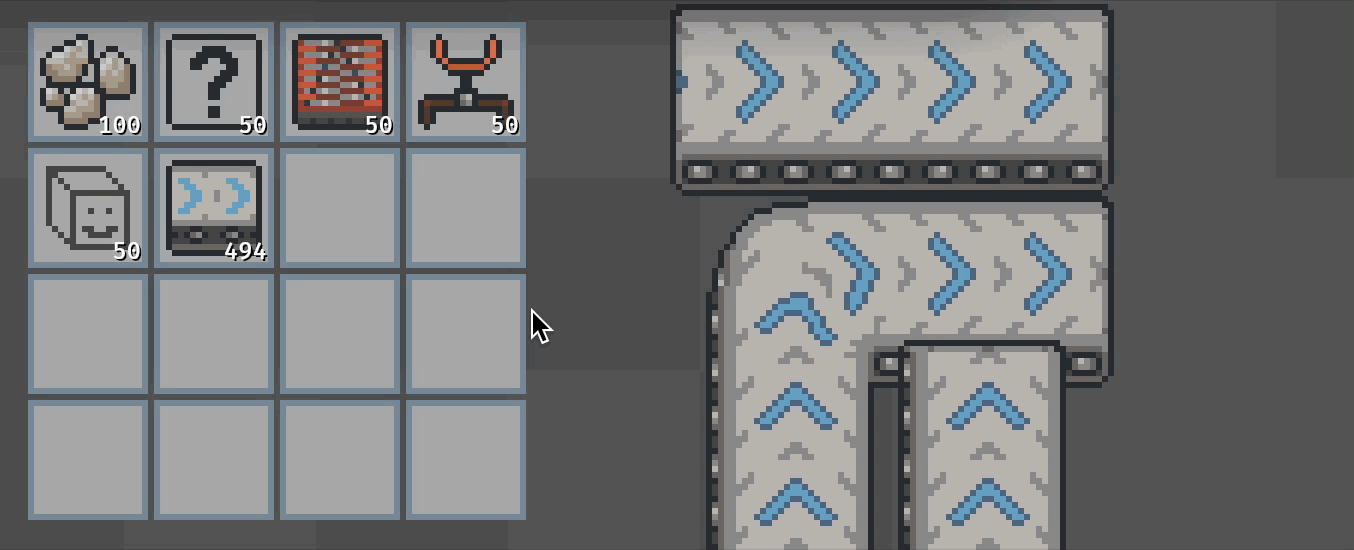
The player in my game has an inventory which lets them carry all kinds of different items (what a shock, I know). The player can then “hold” any of those items from their inventory in their hand. This “held item” is what signifies what the player wants to place into the world (amongst other interactions, like putting items into boxes).
When the player clicks an item in their inventory, they hold that item. If the item that was picked up is able to be placed into the world, and the player hovers their mouse pointer over a grid tile in the world, I want a “ghost” version of that item to be seen on that tile.
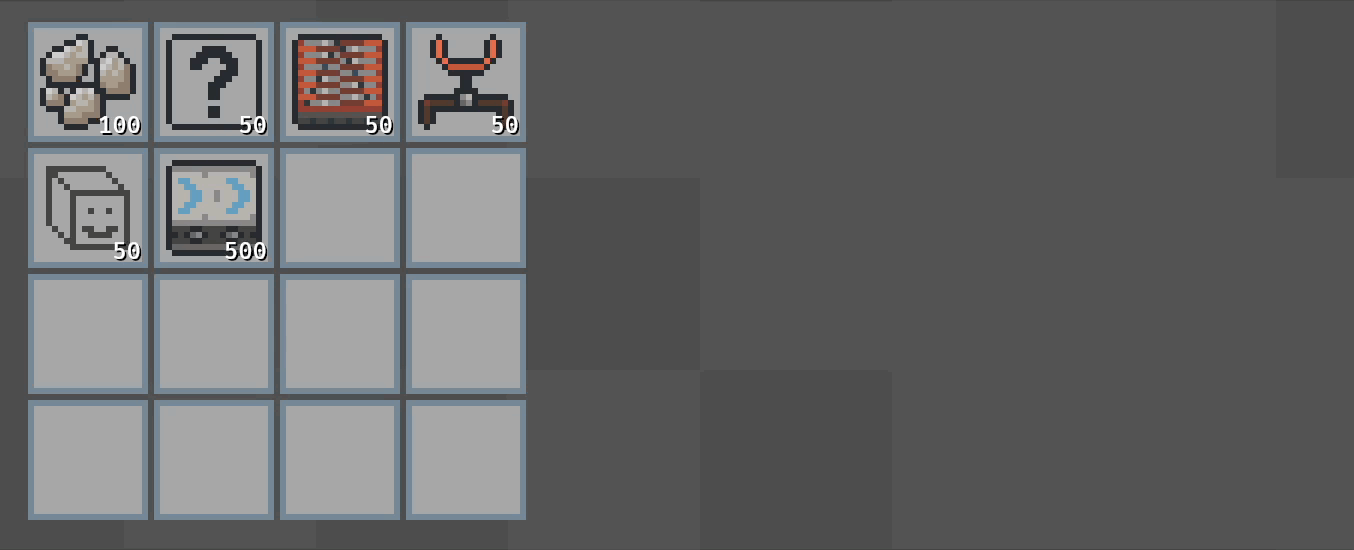 Picking up a grinder from your inventory (ghostly)
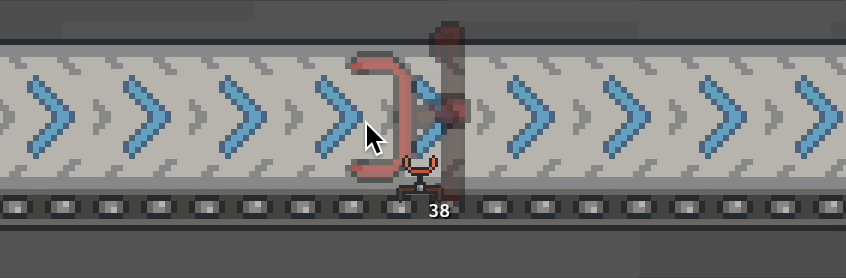
This is easily done via handling the On<Pointer<Over>> picking event for world tiles and taking whatever action is deemed appropriate. We can even make the ghost appear red if there isn’t room to place the item.
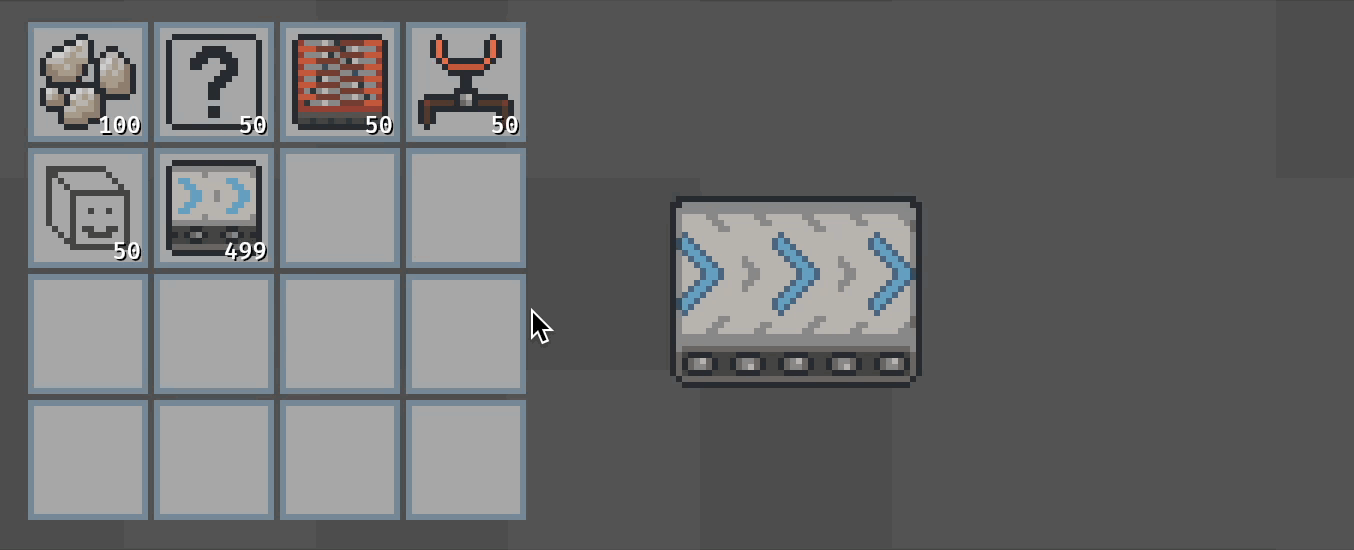 Can’t place a grinder on top of a belt (unless it wants to travel along it of course)
But how do we actually know if there’s room to place an item or not? How do we know what’s where in the world? Well, that brings us nicely to handling clicking.
Clicking
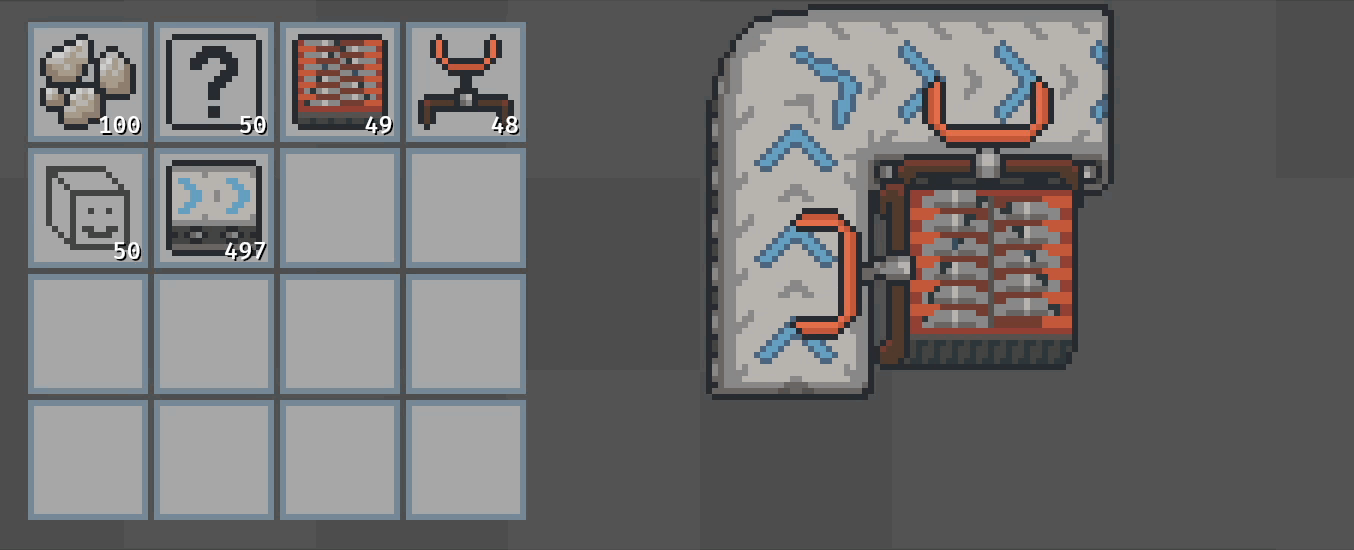
So, we’ve picked up an item, hovered over a tile we want to place that item on, and then clicked on the tile. That places the item into the world.
 The world loves grinders
But what’s happening in between clicking and placing into the world? We start by handling the On<Pointer<Press>> picking event for world tiles, and after some messages sent and checking that we can actually place the item we’re holding, this leads to calling the world’s API for inserting items into it. So what does the world actually look like behind the scenes?
/// Structure defining what a tile entity contains, if anything
struct Contains {
    /// What, if anything, is on this tile?
    on_tile: Option<Entity>,
}

/// Set of all created tile entities and what they contain
#[derive(Resource)]
pub struct WorldTiles {
    tiles: HashMap<Coord, Contains>,
    extents: (Coord, Coord),
}
So pretty simply, the world just associates coordinates within it to what item is placed where, if anything. This makes it easy to query what’s on the coordinates next to a tile when attempting to place an item. This is what made belt chains (mentioned in the previous post) possible, and what makes it possible for other items to check what’s around them if they want to.
Using a HashMap allows the list of world tiles to be sparsely populated. It’s probably not the most necessary optimization, but the behind the scenes details of things can always be adjusted when it’s time to fine tune and polish things.
You may also have noticed the #[derive(Resource)] above the WorldTiles structure. This is a Bevy specific macro for associating a type as a Resource. In Bevy terms, a Resource is a type that will only have one instantiation within the game that can be accessed anywhere. It’s effectively just defining a type that will only be used as a global piece of data.
So now that we can pick up items, hover to see the ghost of them, and click to place them in the world, what’s so special about the last interaction type I mentioned: dragging?
Dragging
Sorry for the foreshadowing, because dragging isn’t actually something new. It’s just a special case of clicking that makes it easier to place multiple of an item into the world. This is done by handling the On<Pointer<DragEnter>> picking event and treating it as a click.
 Clicking and dragging to place belts more easily
However, dragging being a separate interaction type does make it possible to later add special cases for dragging specific items, like automatically placing underground conveyor belts when dragging belts through a set of world tiles that are already occupied by something else. Maybe a future blog post will go into detail on that once I’ve gotten further into making this game!
All this is, in part, to say that picking events are quite flexible and powerful. There are more events than the three that I mentioned, and they can be used in any which way you want (probably).
Okay, I’ve hinted at special considerations a couple of times now, so it’s probably time to actually talk about what I mean by that. So, let’s look at inserters.
Inserters
Inserters are the machines in factory games that pick up items from one place and put them in another. Not every factory game uses them (in fact quite a few don’t use them these days), but I like how they add an extra consideration for throughput when chaining together multiple machines to make a factory. For example, if you’re playing a factory game without inserters (belts directly feed into machines) and your fully saturated conveyor belt is carrying 5 items per seconds feeding into a machine that consumes 5 items per second, your ratios for that section of your factory would be considered perfectly balanced. However, if the same scenario now includes inserters, and those inserters only move 1 item per second, you now need to make sure you can fit in 5 inserters between your belt and the machine to fully meet the demand and once again be considered perfectly balanced.
All that is to say, I like the extra challenge it provides and the extra details you need to consider when building a factory. However, one reason that factory games don’t include inserters (besides simplifying things) is to make it so less space is required for each factory. I mentioned in the last post that I’m planning for the focus to be on building in limited spaces. So if I want the added throughput considerations of inserters without making it more challenging to build in these limited spaces, what can I do?
Well, I can make inserters fit in-between tiles of course!
In-Between Tile Inserters
So, we’ve finally reached those special considerations I kept mentioning earlier. How do we fit inserters in-between tiles? Do we create a separate grid for them to go on that’s offset from the normal grid? Well, that doesn’t quite work, because that would put them on the corners of tiles rather than in between them. So do we create two new grids, each one being offset up/down or left/right by half a tile? Well, that could work, but it sounds a bit bloated and complicated. Instead, why not just keep track of what’s on the edge of each tile within the world?
To do that, we’ll need to update our internal structure a bit.
/// Structure defining what a tile entity contains, if anything
struct Contains {
    /// What, if anything, is on this tile?
    on_tile: Option<Entity>,
    /// What, if anything, is on the edges of this tile?
    /// Represents: [Facing::North, Facing::East, Facing::South, Facing::West]
    on_edge: [Option<Entity>; 4],
}

struct WorldTiles {...} // This is unchanged from above
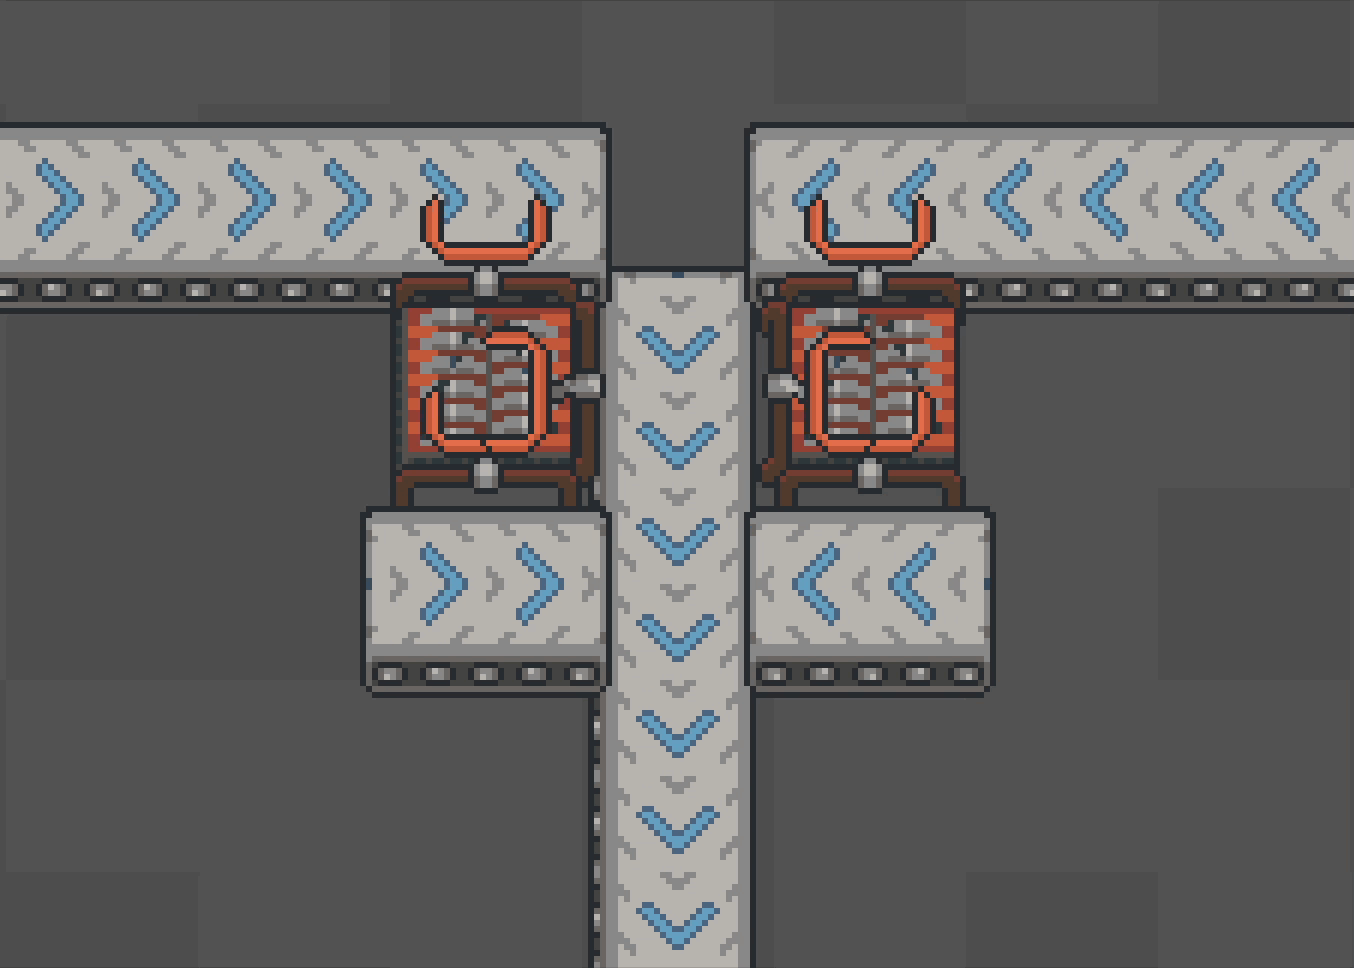
So a bit of extra logic put in to update the WorldTiles resource appropriately for this new item insertion paradigm, and we can place inserters on the edges of tiles! When hovering the world with an inserter held, and when attempting to place an inserter into the world, we’ll check what’s on the edges of the tile instead of on the tile itself.
 Squeezing those inserters in-between belts
Now, you may already be realizing another special consideration that we need to check when placing inserters: is the player trying to place an inserter in the middle of a belt chain? I don’t exactly want inserters clipping through and interfering with a chain of belts, so those are some more checks we make when attempting to place an inserter.
 No inserters here please
You may have noticed in the placing inserters example that I only placed inserters in-between belts that have been placed into the world. This is because, currently, inserters will only be allowed to be placed if it’s between to existing machines in a valid configuration (read: not in the middle of a belt chain). I might change this later if it ends up being annoying when playing the game, but for now, inserters can only be placed in-between existing machines, and will get forcibly removed if one of its adjacent machines is removed.
 Yeeting those inserters when the grinder is picked up
Also, in case you were curious, removing items from the world is done by right clicking an item that’s already been placed in the world. This is once again just done by handling the On<Pointer<Press>> picking event, but this time for PointerButton::Secondary instead of PointerButton::Primary.
Endings
Well that’s about all I’ve got for how the world works. Once again, I’ve glossed over many details (although I’ve included a few more than last time), and there’s still plenty more interesting things to talk about. But you’ll just have to wait until next time to hear more!
Once again, if you’re curious about anything, or want to be kept in the loop when I have more to share about this game, feel free to send me an email at minhaul.creations@gmail.com, or find me on Discord by my username @minhaul.
And before I go, I’ll leave you with a bit of a sneak peek for what’s coming up soon :)
 Thanks for reading!